Hello everyone!
Even before the hubby and I signed on our house, I've been collecting Pinterest Pins on different subjects: decoration, organization, and yes, DIY projects. Watching Fixer Upper and other HGTV shows made matters worse, so now I have something to say: Hi. My name is Viviane and I'm a Pinterestoholic. That's it, I'm addicted. I've got a fever, but more cowbell won't do it for me. I need to build something!
A couple of months back I bought a Kreg Jig. I had never used one and figured that would be the one tool I should have handy when building anything. Finally, I was able to give it a try and that thing is magic!
"
But what did you build, Vivi?" Alright, alright. I got excited with the background story part of this post. Anyway... I found
Ana White's Rustic X End Table plan one day and decided I'd recruit Chad to help me building it. I love the farmhouse style of this table and it looked somewhat simple. Below is our experience building it. Enjoy it!
Material list*:
2 - 2x4 @ 8 feet long
1 - 1x12 @ 3 feet long
2 - 2x2 @ 8 feet long
2 - 2x6 @ 8 feet long
Corner bracket hardware
Decorative bolts
2 1/2" and 1 1/4" PH screws
Cut list*:
a) 8 - 2X4 @ 22 1/2"
b) 4 - 2X2 @ 16"
c) 2 - 1X12 @ 16"
d) 2 - 2X2 @ 26 1/2" (long point to short point, ends are parallel, 50 degrees off square)
e) 4 - 2x2 @ 13 1/4" (longest edge, one end cut at 50 degrees off square, other end cut at 10 degrees off square)
f) 5 - 2x6 @ 27"
*both taken from Ana's site
First, we built the frame of the end table by attaching the 2x4s (a) boards in a shape similar to a squared letter "A" and then connecting both "As" with the 2x2s (b). During this step, make sure you're checking the square and level after each attachment.
Note the squared "A" shape. Distance from the top of the bottom board to the floor is 2"
We used the Kreg Jig to attach the boards. For the 2x4s, we drilled holes A and C and used 2 1/2" PH screws to hold them in place.
Only top and bottom boards need holes drilled on both ends. You will use both to attach the side boards
For the 2x2s, we drilled B and C holes and also used 2 1/2" PH screws.
Drill holes on both ends of all 4 2x2s
Attach all 2x2s to one side of the table, then attach the second side using the pre-drilled Kreg Jig holes
Stress test!
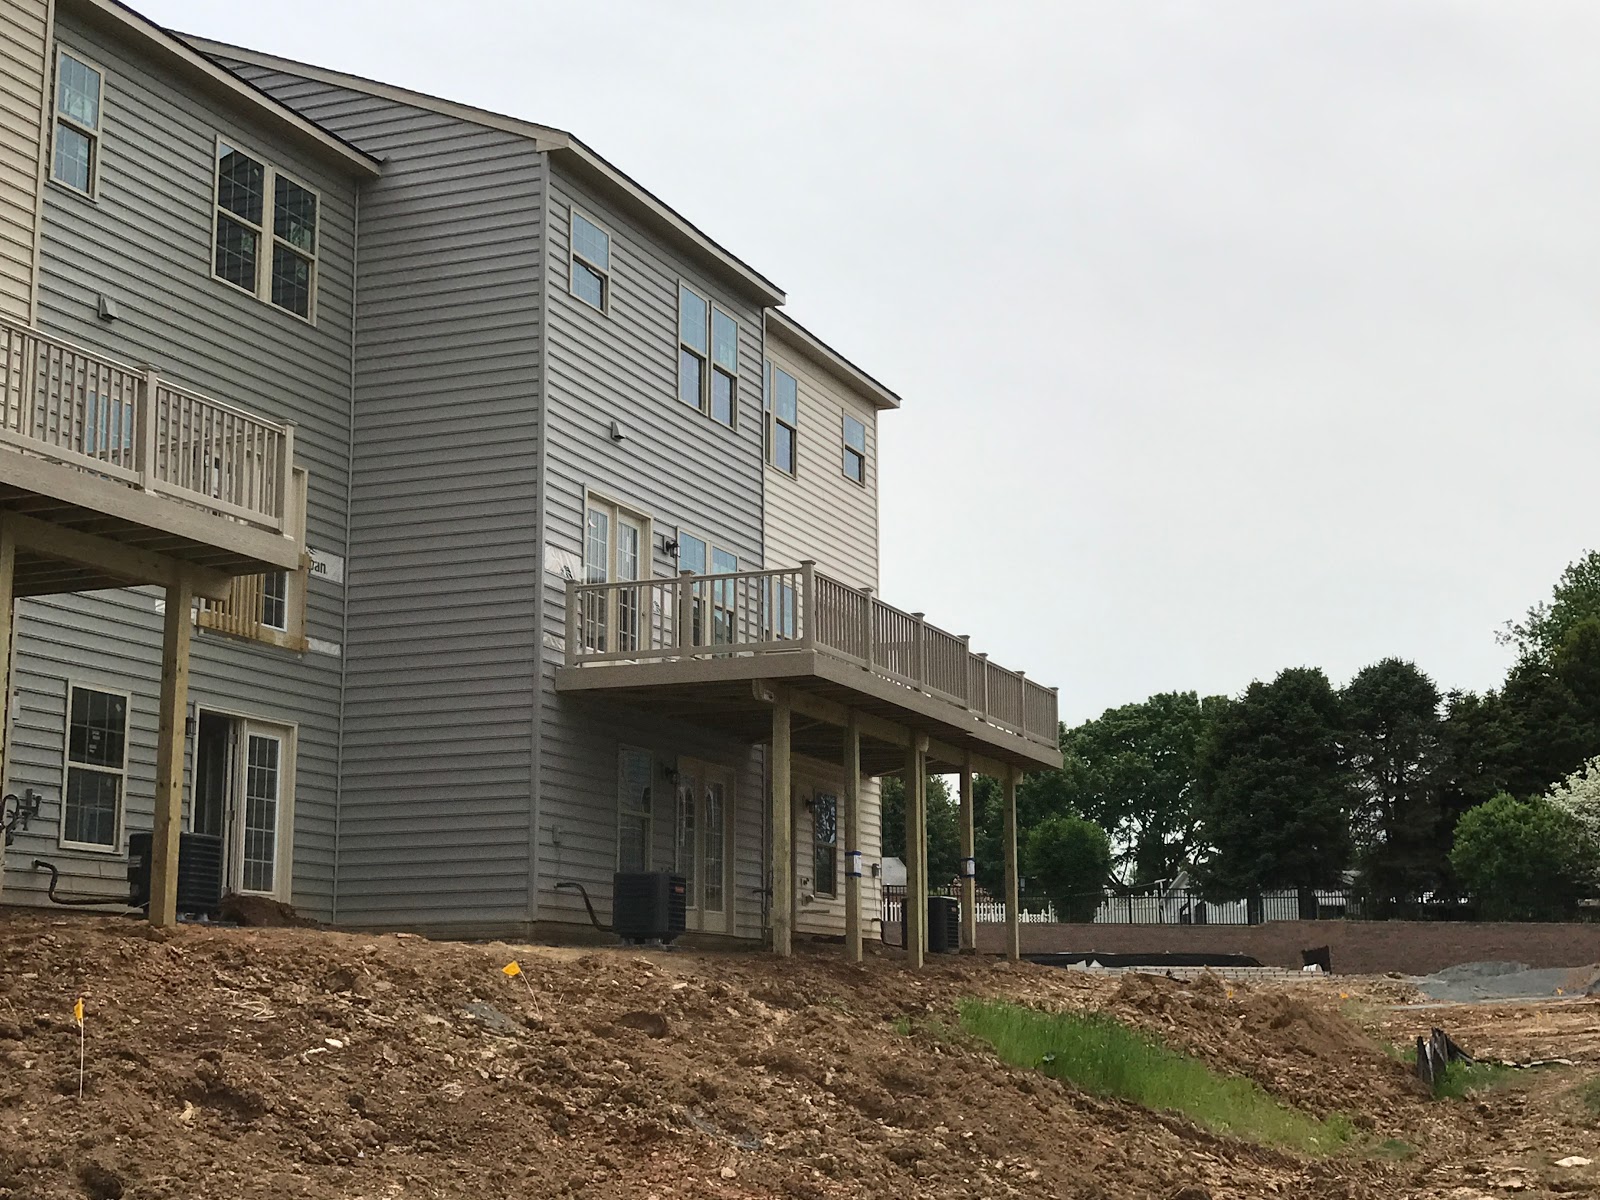
At the end of this step, you will have the frame of your table. Feeling accomplished, we took a break to enjoy the beautiful weather and wonderful view:
But back to work!
The next step was to add the bottom shelf of the table. For that, attach both 1x12s (c) to create a tray. Again, we used the Kreg Jig and drilled three sets of holes A and B (right, center, and left) on the board. One of the boards will have holes on both sides to attach to the table and to the other 1x12:
We used the 1 1/4" PH screws for this step
In this step, it is likely that your tray won't fit perfect into the bottom part of the table. We tried using some force to make it fit, but we were afraid we would damage the board, so Chad used a sander to smooth out the end of the boards (the 16" end, that is). After some trial and error, it fit perfectly.
Finished step. There's a little gap on the bottom left corner, but we are going to put some wood filler later
The next step is to cut and assemble the X on the side of the table. We were a little anxious about this step, but it was surprisingly easy. One part of the X will be a longer piece of 2x2 (d) and the other part will be two smaller cuts of 2x2 (e). As specified on the cut list, both ends of (d) will be at 50 degrees off square, while for the smaller pieces (e), the end that connect to the table will be at 50 degrees square and the end that crosses the longer piece will be at 10 degrees off square. We used a miter saw to measure and cut the boards. As usual, MEASURE TWICE AND CUT ONLY ONCE. There were a few trips back to the saw to adjust the smaller pieces to make sure it was a perfect fit, but we took our time and all turned out fine.


Here are some pictures of the process. We attached the two long sides first and used a 2 1/2" PH screw to attach them to the 2x4. Make sure to place the screw at the widest part of the corner of the table so the screw doesn't pierce through the wood. The smaller piece piece connects to longer piece with a 1 1/4" PH screw and a pocket hole done with the Kreg Jig.
One side complete and step finished
Next step is to build the top of the table. Just like the bottom tray, we assembled the 2x6s (f) and built the whole top piece before attaching it to the frame. We drilled three sets of pocket holes with the Kreg Jig (A and C).
We attached the top to the table from the underside, using 2 1/2 PH screws. We used two screws for each side.
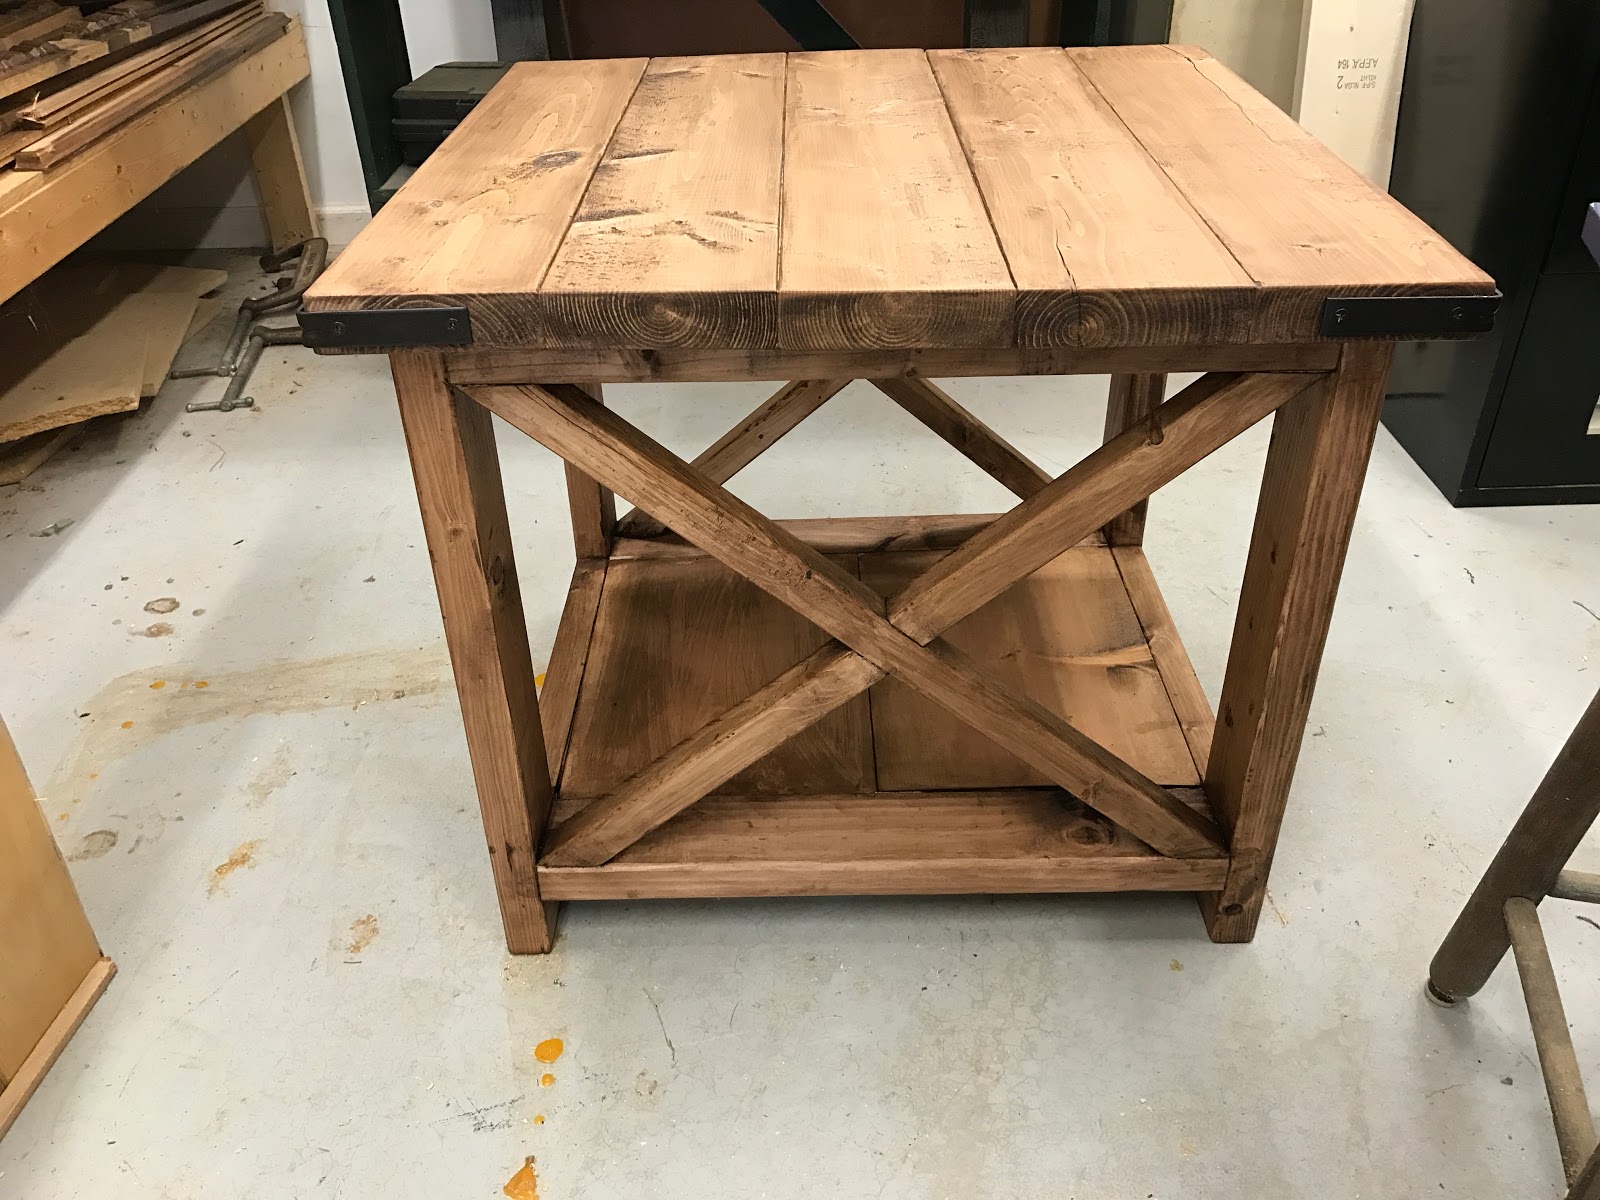
TA-DA! The table assembly is completed! To finish up, we sanded the whole thing using first 150 sand paper and finishing up with 220 sand paper. To prep for staining, we used Minwax Pre-Stain Wood Conditioner (water based) and stained with two coats of Dark Walnut Stain + Poly from Varathane. We thought it was going to look darker and maybe we didn't mix the can very well, but honestly, we do love the color. A nice addition was the L bracket we placed on the 4 corners of the table. We bought a 4" pack from Home Depot. It was silver, but we used Rust-Oleum Oil Rubbed Bronze spray paint to get the color we wanted.
This wasn't a very difficult project and we are planning on building the coffee table and the console table to complete the set. I hope you enjoyed it!


